How to Prepare a Wall for a Mural or Decorative Finish: A Client’s Guide
How to Prepare a Wall for a Mural or Decorative Finish: A Client’s Guide
Meta description (SEO): What should you do to your wall before the artist arrives? A complete guide to preparing a wall for a mural or decorative finish — what’s the client’s responsibility and what’s the artist’s.
Introduction: Wondering whether you need to do anything to your wall before I arrive? Here’s a step-by-step guide explaining what’s your responsibility and what I’ll take care of.
One of the most common questions I receive from clients is: “Do I need to do anything to the wall before you arrive?”
The answer is: not much, but there are a few important things to know. The condition of the wall has a direct impact on both the final appearance and the longevity of the artwork.
This guide explains exactly how responsibilities are divided between the client and the artist, and what you should do before I arrive.
The Basic Rule: Great Decoration Is 70% Preparation
This is one of the most overlooked aspects of decorative work.
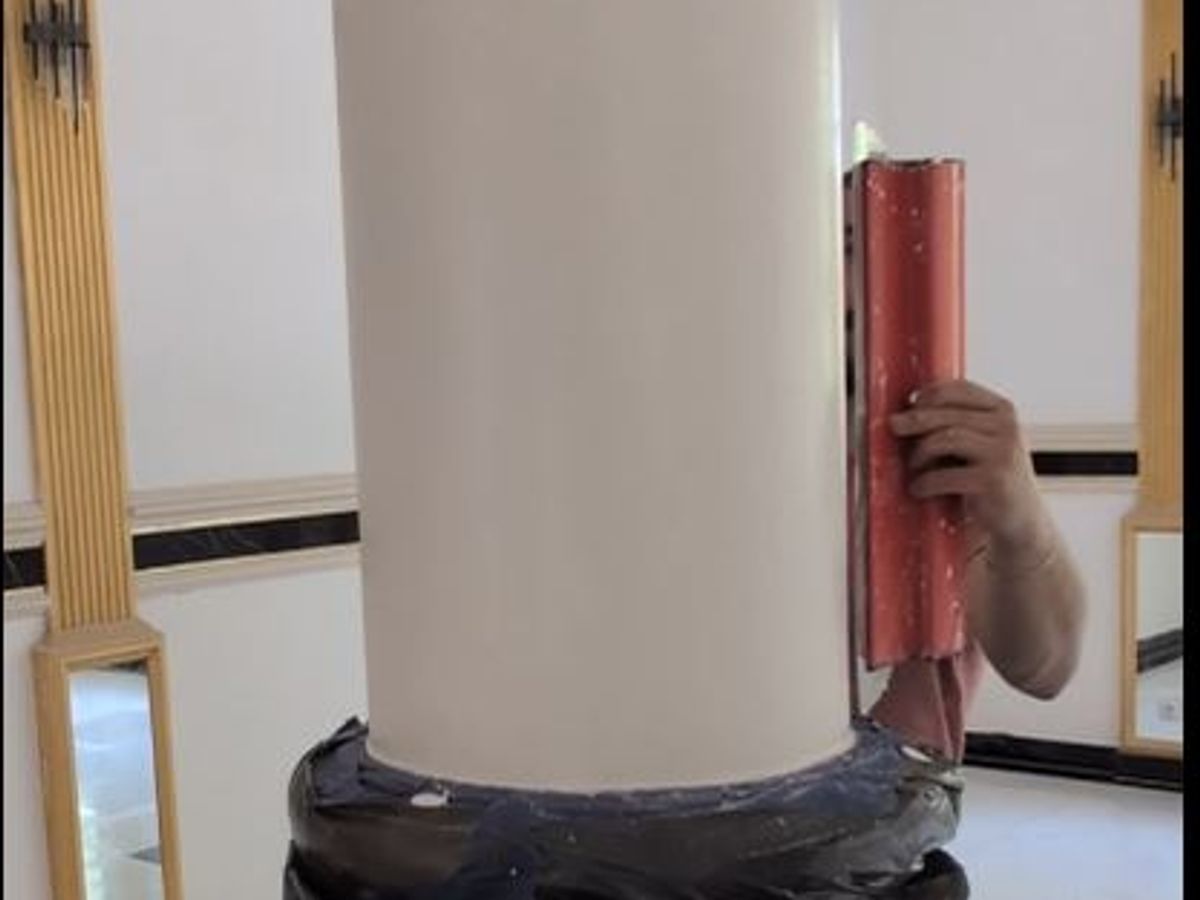
People imagine an artist arriving with brushes and immediately starting to paint. What they rarely see is that the first two or three days are often spent preparing the surface rather than creating the artwork itself.
A decorative finish applied to a poorly prepared wall may:
- Peel or flake within a year
- Fade unevenly
- Reveal every imperfection beneath the surface
- Develop visible cracks
Proper preparation is not a step that can be skipped.
What’s the Client’s Responsibility?
1. Prepare the Room Before the Visit
- Move furniture at least one metre away from the wall (or remove it from the room if possible)
- Protect the floor with dust sheets, decorating film or cardboard (I do this too, but additional protection is always helpful)
- Remove pictures, shelves, sockets and switches from the wall being decorated
- Ensure access to water (for cleaning tools) and an electrical socket (for work lighting)
2. Decide What to Do About Fixtures and Obstacles
This includes sockets, light switches, thermostats and ventilation grilles located on the wall.
- Remove them if possible (leaving only the recessed fittings in the wall) for the best visual result
- Leave them in place if removal is not practical — the mural can be painted around or over the covers, but the finish may look slightly less refined
3. Report Damp, Cracks or Failing Plaster
Please let me know before the visit if the wall:
- Shows signs of damp or staining
- Has cracks (even minor ones)
- Has loose or hollow-sounding plaster
- Has recently been affected by a leak or flooding
These issues must be resolved by a qualified building professional before any decorative work begins. Otherwise, the same problems are likely to reappear through the finished decoration within a few months.
4. Decide on the Base Colour (If Required)
Some decorative techniques, such as sponging, glazing and faux marble finishes, require a base coat in a specific colour.
I can:
- Apply it myself (additional cost: £5–£8 per m²)
- Ask your decorator to do it, which is often more economical
- Leave it to you if you have someone you trust
What’s My Responsibility?
Everything requiring technical and artistic expertise, including:
1. Assessing the Wall
During the initial visit, I check:
- The type of plaster or surface finish
- The existing paint coating (emulsion, oil-based, acrylic, etc.)
- Adhesion using a tape test
- Moisture levels (with a moisture meter or visual inspection)
- Surface flatness and imperfections using angled lighting
2. Surface Preparation
Depending on the wall condition, this may include:
- Sanding uneven areas
- Filling minor imperfections (for major issues I recommend a specialist plasterer)
- Removing dust after sanding
- Cleaning and degreasing the surface, particularly in kitchens
- Applying an appropriate primer suited to both the substrate and the decorative technique
3. Protecting the Surroundings
- Floor protection
- Masking tape on skirting boards, frames and windows
- Protective sheeting for furniture that cannot be removed
- Protection for electrical outlets
4. Applying the Base Coat (If Required)
Some techniques require a base layer before the decorative finish can begin. This coat generally needs 24–48 hours to dry fully.
5. Creating the Decorative Finish
Only at this stage does the work most people associate with an artist actually begin.
6. Protecting the Finished Surface
Once the decoration has fully cured, I apply a protective varnish or sealer (matt, satin or gloss, depending on the technique).
Requirements for Different Techniques
Mural
A mural requires a smooth, slightly matt surface, ideally painted with emulsion over a properly primed wall. The base colour is usually not critical, as the mural will cover it.
Venetian Plaster
Venetian plaster demands an exceptionally smooth surface. Even the smallest imperfections will remain visible through the polished layers. Additional sanding or skim coating is often required.
Faux Marble & Textured Effects
These techniques typically require a coloured base coat applied across the entire wall before the decorative process begins.
Sponging
A matt base coat close to the final colour is essential, as portions of the base layer will remain visible through the decorative finish.
Common Misconceptions
“It’s Just a Normal Wall”
Not quite. A wall freshly painted with modern emulsion behaves very differently from one carrying fifteen years of accumulated paint layers. Surface adhesion matters.
“We Had Damp, but It’s Dry Now”
Even after drying out, damp can leave salts within the wall structure. These can migrate through new finishes unless treated with specialist products.
“The Wall Looks Smooth”
For most decorative techniques, it may be. For Venetian plaster, however, “smooth” means genuinely flawless. My definition is often several levels above a client’s.
“Just Do Whatever You Think Is Best”
Most clients say this at the beginning—and then examine every detail at the end. It’s always better to make key decisions upfront.
Before the Visit: Checklist
✓ Furniture moved away or removed
✓ Floor protected (or ready for me to protect)
✓ Access to water and electricity
✓ All other building or renovation work completed (I do not work mid-renovation)
✓ Room temperature between 15–25°C
✓ Relative humidity below 65%
✓ No other trades creating dust in the room during the same period
Planning a Decorative Wall Finish but Not Sure Where to Start?
Get in touch for a free consultation. I’ll assess the condition of your wall and provide a quotation that includes all necessary preparation work.