Venetian Plaster in a Bathroom: Will It Survive?
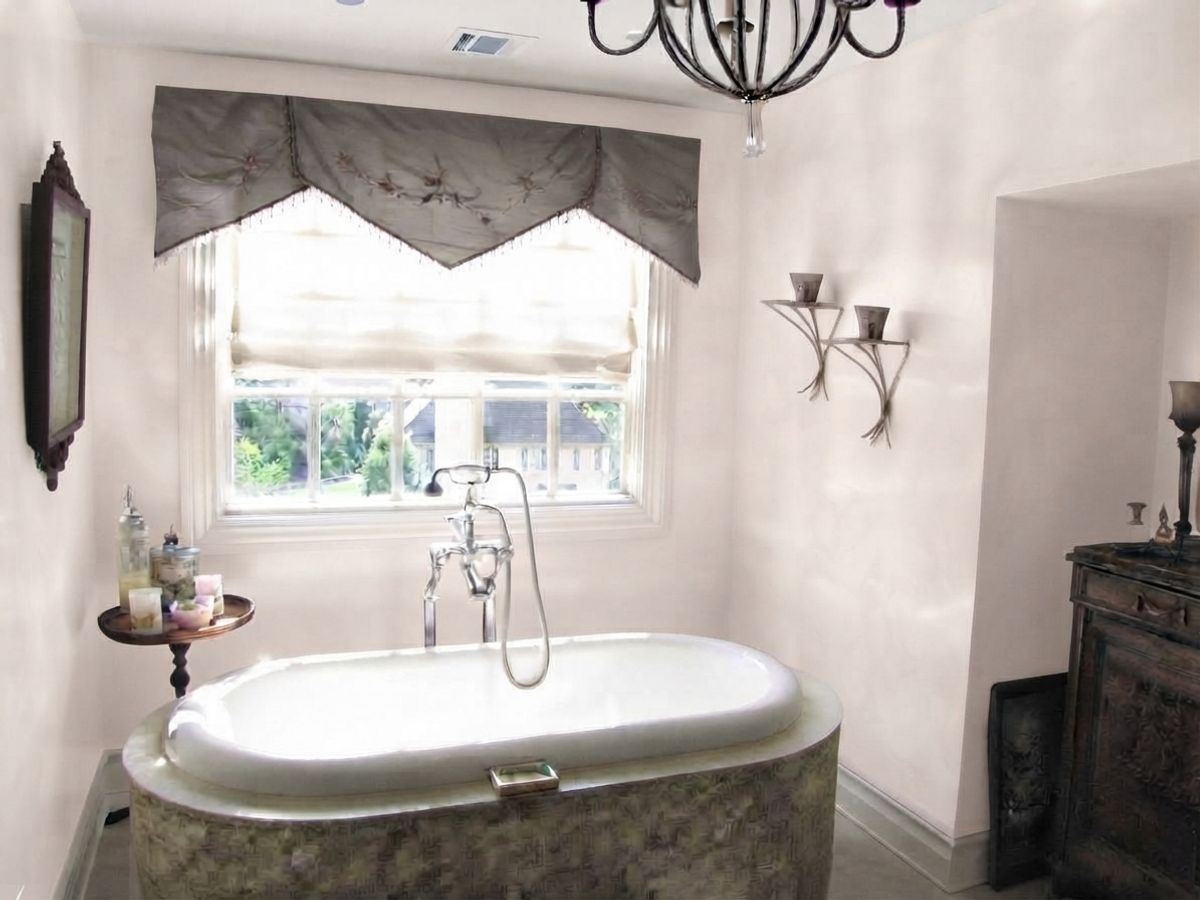
The question comes up in every other bathroom conversation. Will Venetian plaster survive, given that it's essentially lime, and lime sounds like something that dissolves.
It will, and better than most people assume, but not everywhere in a bathroom and not without conditions. It's worth knowing where the line runs, because once you cross it, repair means stripping the whole wall.
Why lime copes with water at all
Venetian plaster is slaked lime mixed with very fine marble flour, applied in thin layers with a trowel and burnished at the final stage. Once cured, the lime converts to calcium carbonate, which brings it chemically close to marble itself. The wall becomes a thin layer of stone.
Two properties come with that. Strong alkalinity means mould and bacteria have nothing to grow on. Vapour permeability lets the wall release moisture instead of trapping it behind a sealed film. In Venetian palaces this material has hung above the canals for five hundred years, in humidity that makes our bathrooms look like deserts.
I covered the technique itself, the layers and the burnishing, in a separate piece on Venetian plaster. Here I'm focusing on what happens to it in a wet room.
Three bathroom zones, three different answers
The basin area, general walls, ceiling: plaster works without reservation. Water splashes here in spots and evaporates quickly, and lime handles that kind of load easily.
The wall beside a bath: fine, provided it's properly sealed. Water runs down the surface rather than hitting it as a pressurised jet, and between baths the wall has time to dry.
Inside a shower enclosure: here I advise against it, even though some system manufacturers permit the application. A daily stream of hot water plus shampoo detergents is a load under which wax wears out within a year or so, and after that water starts entering the material. For shower enclosures I suggest microcement, which I wrote about in my piece on concrete effect walls, because its polyurethane sealer is watertight in a way wax will never be.
Sealing, the first condition
Unsealed plaster in a bathroom makes no sense. The surface has to be saturated with beeswax or Marseille soap, in two or three coats, worked in and buffed after the material has fully cured.
Wax gives a stronger barrier and a deeper sheen. Soap is more breathable and easier to refresh, but protects less. In a bathroom I usually go for wax, in a living room for soap.
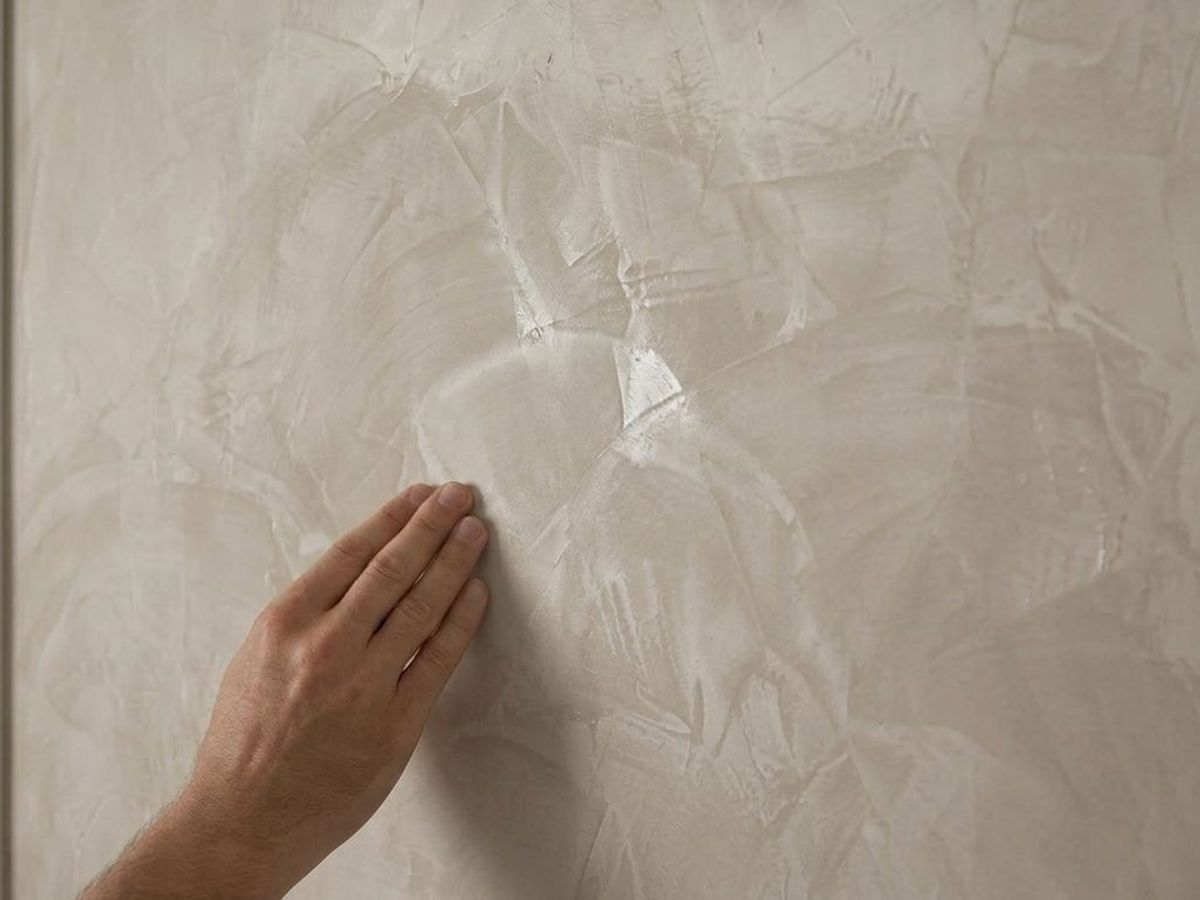
Something to know before deciding: this is not a permanent seal. Bathroom wax gets refreshed roughly every three years, by wiping a new coat over the wall and buffing with a soft cloth. Two hours of work, easily done yourself. Anyone who forgets about it for ten years will sooner or later see matte patches where water regularly settles.
Ventilation, the second condition
This matters more than the material. A bathroom with a window that opens, or with working mechanical ventilation, dries out fast enough that plaster has nothing to complain about.
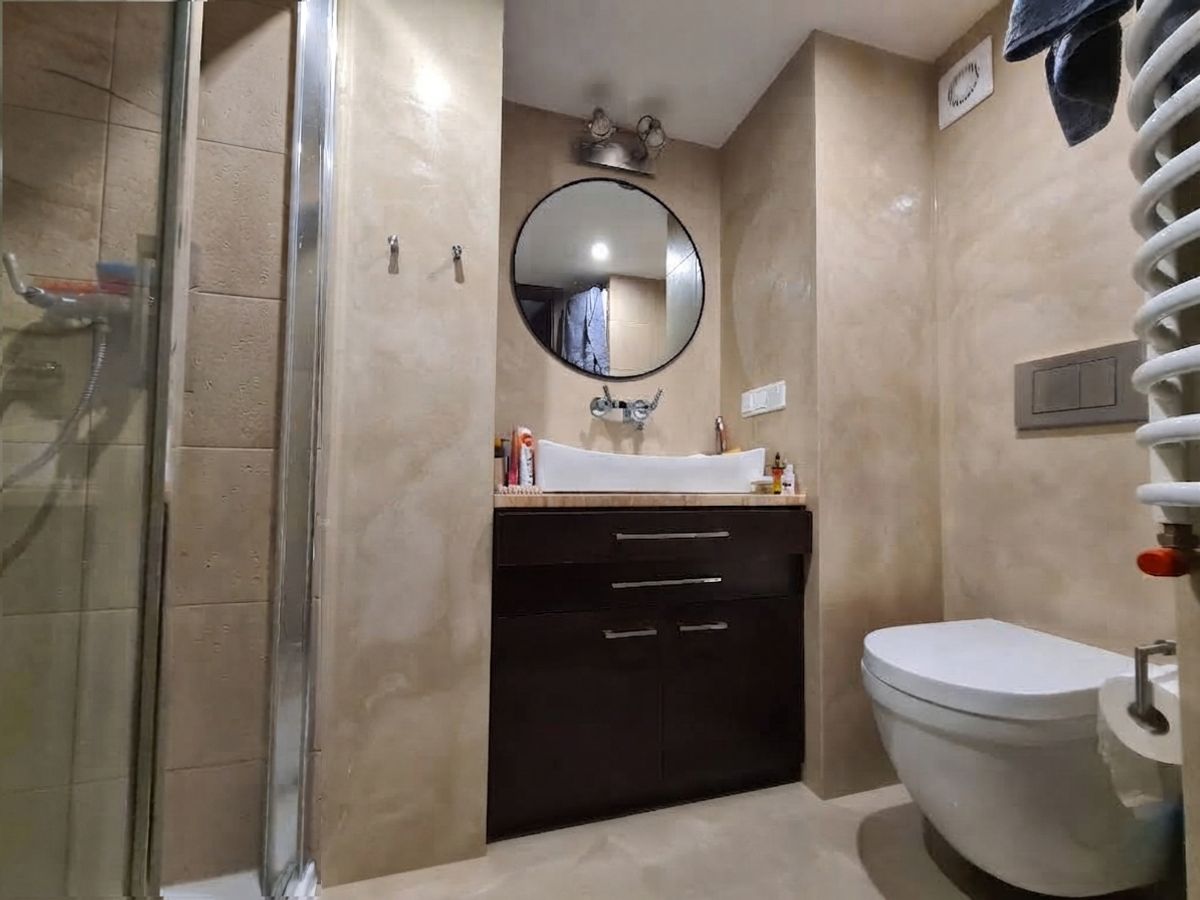
A windowless bathroom with a gravity vent that barely pulls is another story. The first question before choosing any finish should be whether the mirror stays fogged for half an hour after a shower. If it does, mechanical ventilation with a humidity sensor comes first, and the conversation about walls second. It sounds like dodging the subject and it's ordinary honesty, because a bathroom like that will destroy any finish, not only lime.
The substrate, the third condition
Plaster goes onto a mineral substrate that is level and sound. Gypsum skim, cement-lime render, moisture-resistant plasterboard. Over existing tiles it's possible, but needs a quartz-filled bonding primer and a check that the tiles are still gripping the wall.
In wet zones there must be a waterproof membrane under the plaster, exactly as under tiles. Liquid membrane on the wall beside the bath, two coats, with tape in the corners. The plaster itself is not waterproofing and nobody should be selling it as such. I set out the sequence and the preparation in detail in my piece on preparing a wall for decorative plaster.
Where plaster beats tiles
No grout, above all. Grout is the weak point of every tiled bathroom, since it collects dirt, discolours and is where the black appears first. A plastered wall is continuous, so there is nowhere for any of that to gather.
The second thing is depth. Burnished plaster reflects light unevenly, holds drifts and transitions resembling a cut through stone, and looks different from every position in the room. A marble-effect tile carries a printed pattern, identical on every piece in the box.
It loses on impact resistance, and on price against cheap ceramic tiles. Against large-format tiles at the upper end, the cost difference becomes small. I have a comparison of techniques and what suits what in my piece on six decorative techniques.
Everyday care
Wiping with a soft cloth and lukewarm water is enough. For anything heavier, water with a little household soap, since soap is alkaline and won't fight the lime.
All acidic products are out, which is essentially the entire bathroom-cleaner shelf, along with limescale removers and cream cleaners. Acid dissolves calcium carbonate literally, leaving matte pitting that cannot be buffed out. It's the one thing that can ruin a wall like this in minutes.
It's also worth knowing that the market is fairly chaotic here, and acrylic plasters with a marble effect sometimes get sold under the Venetian label, despite having nothing to do with lime and behaving completely differently in damp conditions. I set out the terminology in a glossary of decorative techniques, which comes in handy when reading quotes.
In one sentence: Venetian plaster is a very good choice in a bathroom anywhere except inside the shower, as long as the ventilation works and you remember the wax every few years.
Joanna Kruza — murals and decorative wall techniques. Fine Arts Academy graduate. Working in Kraków and Warsaw.